Toolbars in your PHP application
The "toolbar" component displays an enhanced bar with large buttons that allow end users to quickly access the most used commands. By default, applications are configured to have several predefined buttons: Home, Reload, Back, Next, Print.
The roles of these buttons are explained below:
- Home: return to the contents page.
- Reload: refresh the current page.
- Back: return to the previous loaded page.
- Forward: go to the next page (in the case end users have already pressed Back).
- Print: displays the page printer dialog.
To create a toolbar in your PHP application, add a Standard Toolbar to the "Components Used" list and then click Edit Toolbar.
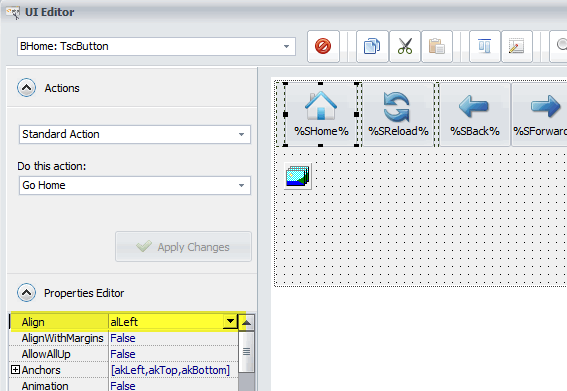
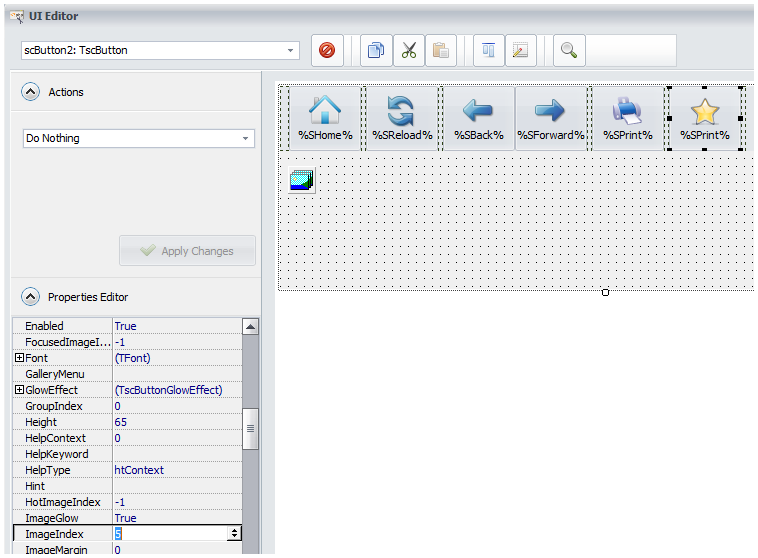
The UI editor is shown and displays a ready-to-use toolbar that you can modify.
The UI editor allows you to add new buttons to the toolbar (or remove exiting ones), associate commands with them and configure their properties. You can also reorder these buttons.
Description of a toolbar control
We use a panel container (TscPanel) to place all buttons on it. In order to align all buttons to the left side, each button must have its Align property with the same value alLeft.
Add a new button to the toolbar and optionally a separator
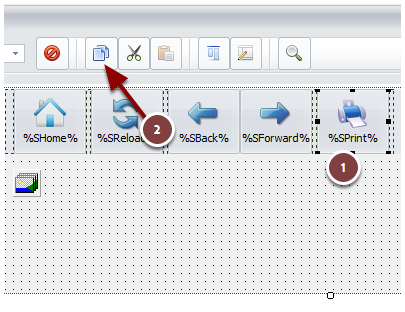
To add a new button to the toolbar, we clone an existing one.
- Select the original button to clone and click Copy to clipboard
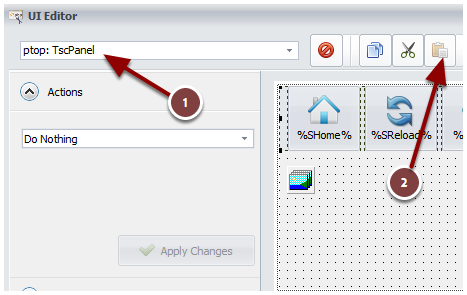
- Select the entire toolbar panel (ptop here) and click Paste
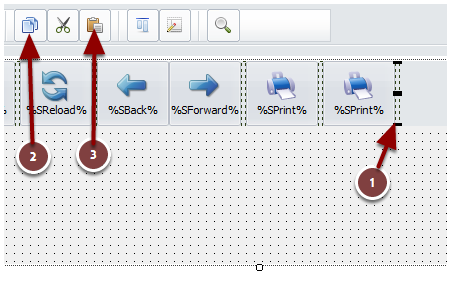
- Repeat the same steps with a Bevel control if you want to have an invisible separator between your buttons
Configure the button properties
Some properties are useful for buttons such as Caption, ImageIndex, Margins, ShowCaption and so on.
For the Caption property, you can use Resource Strings for easier localization. To insert a resource string, use %RESID% and replace RESID with the name of the resource string.
Change the image of a button
Tip
We recommend you to use 32-bit PNG image files (with an alpha channel for transparency).
- Choose the default image list (here spPngImageListToolbar) and double-click on it

- The Image Editor appears: click Add to import a new PNG
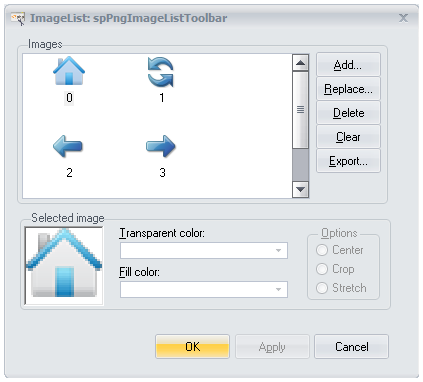
- Memorize the number associated to the imported image and click OK
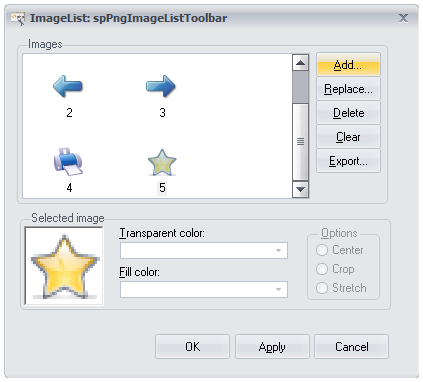
- Select the button you want, scroll down the Properties Editor and set the ImageIndex to the number you memorized (5 here). The image is instantly modified
Modify a button at runtime
It's possible to change any property of any button at runtime.
Refer to the dedicated topic "How To Modify Controls At Runtime".