Instead of a taskbar button, you can have your application show a small icon in the system tray:
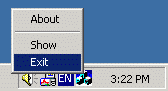
To do this, turn on the “Enable Tray Icon” option. The icon displayed is the application’s main EXE file icon.
The tray icon can optionally display a popup menu when a user right-clicks it.
Info
In Windows 7 and later, not all tray icons are always visible by default. This is normal, and users can adjust their system’s notification area settings to change this behavior.
Properties #
When you select the Tray Icon component in the “Components Used” list, the following properties become available:
Default Hint Text: The text to display in the tooltip when hovering over the tray icon.
Show Minimized on Start: When this option is enabled, the application starts minimized; the main window is hidden, and only its tray icon is visible.
The Close button Minimizes the Main Window: By default, clicking the Close button on the main window exits the application. To prevent the application from exiting, enable this option. It will force the main window to minimize to the tray instead of closing.
In that case, ensure you provide users with another way to exit your application (such as an “Exit” command in the tray’s popup menu). Otherwise, they will have to use the Windows Task Manager to close it.
Always minimize to tray: If enabled, the main window will always minimize to the system tray instead of the taskbar. Otherwise, a taskbar button will appear when the main window is minimized.
Edit Popup Menu: Allows you to manage the tray icon’s popup menu items using the UI editor. This menu appears when a user right-clicks the tray icon. It should contain, at a minimum, “Restore” and “Exit” commands. These are created automatically for new projects, and we recommend keeping them.
Edit Popup Menu #
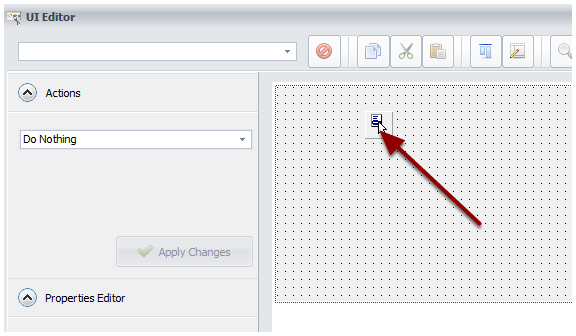
Click Edit Popup Menu, and the UI editor will be shown.
Select the TPopupMenu control.
![Select the TPopupMenu control]()
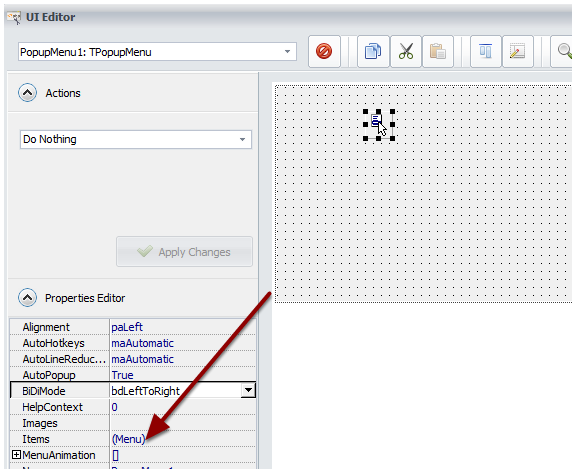
Double-click on
(Menu)in the Properties Editor.![Double-click on (Menu) in Properties Editor]()
Click “New Item” to add a new item or “New Sub-item” to create a child item.
![Click "New Item" to add a new item or "New Subitem" to create a child item]()
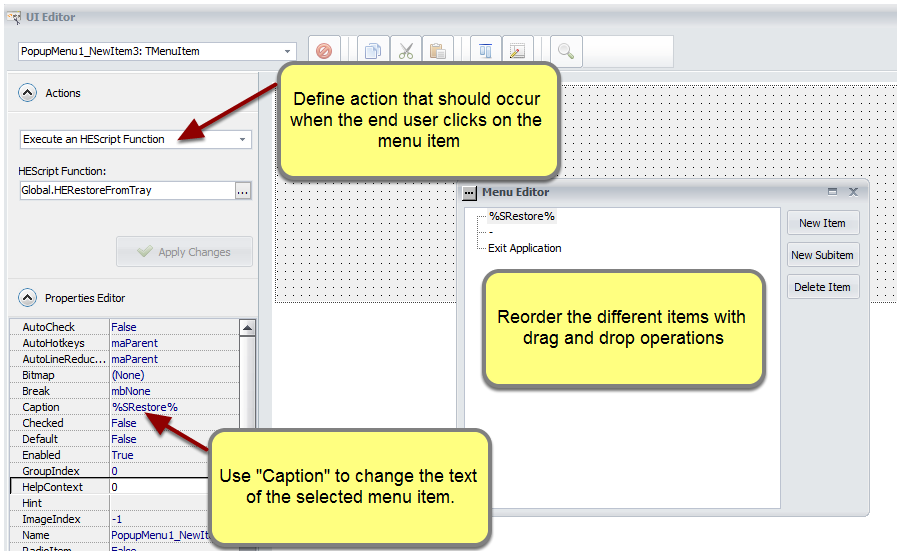
For the Caption property, you can use Resource Strings for easier localization. To insert a resource string, use %RESID% and replace RESID with the name of the resource string.
Changing the Icon Programmatically #
You can change the tray icon at runtime using the TrayChangeIcon HEScript function. By default, the application’s icon is used.
procedure TrayChangeIcon(const IconFile: String);
IconFile must be the full path to an external icon file or the virtual path to an icon file compiled into the application.
Warning
The file must be a valid icon file (.ico). To easily create .ico files, consider using a tool like GConvert.
Code Example: Modifying the Tray Icon at Startup #
Place sample1.ico in your application’s Source Folder so it is in the root directory.
Then, edit the UserMain script, locate the OnStartMainWindow event, and replace it with:
procedure OnStartMainWindow;
begin
  TrayChangeIcon("sample1.ico");
end;
Now, when the application starts, sample1.ico will be used as the tray icon.


